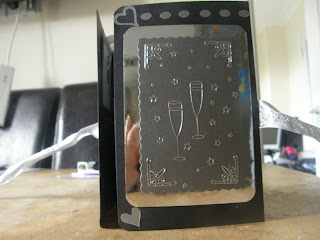
the card is a single sheet of a3 black 300gsm cardstock which was scored and folded 1/3 way to create a pocket effect inside. Then as they requested i left the two edges overlapping at the front. I wanted to cut it neatly into a gate fold but.....


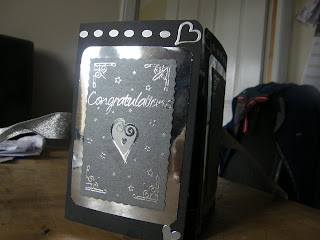
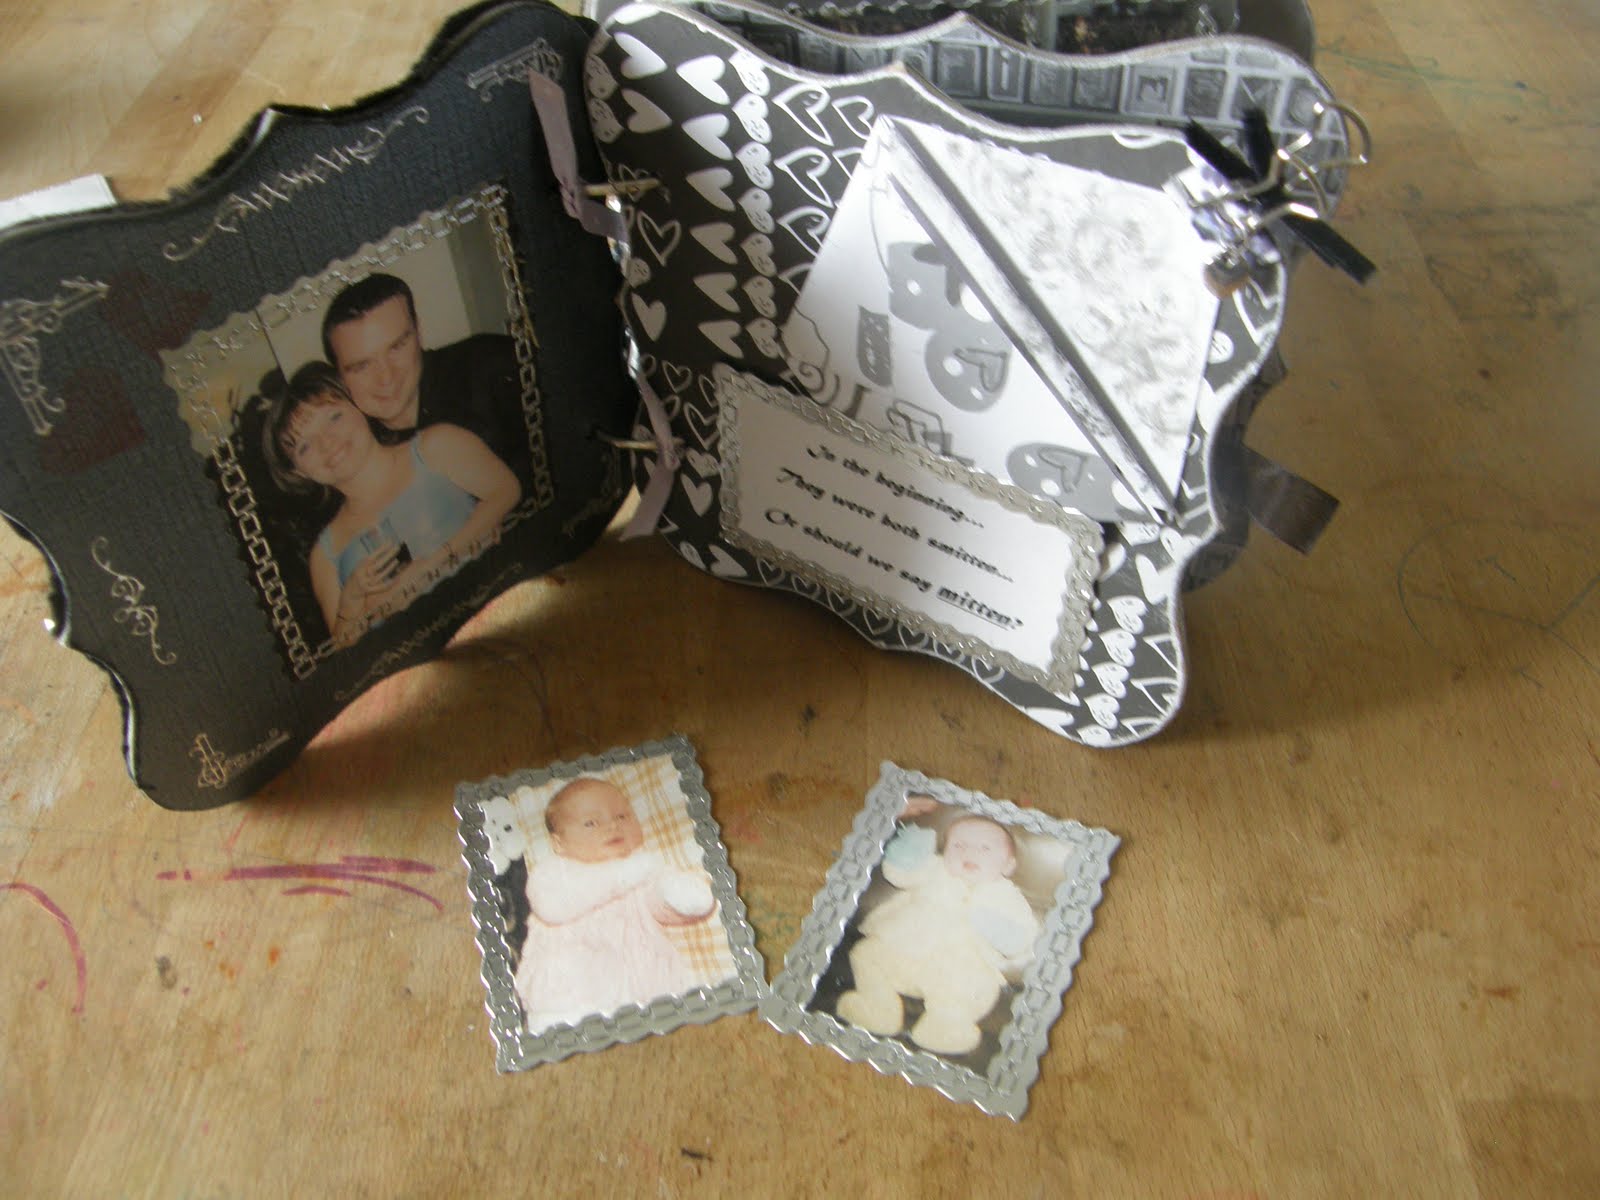
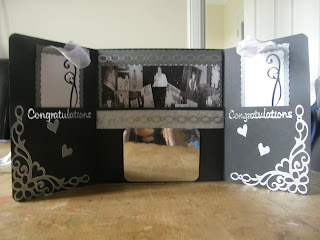
I simply used peel offs to create the monochromatic look they wanted and cut some panels with the big shot to layer up. Then using a sheet of adhseive vinyl i cut some scrolls and hearts using the cricut expression and layered them up too. I collaged a photo of the bride and groom at different stages of their lives and made a single photo panel for the centre where a message could be written on the back
Wednesday, 22 September 2010
always handy when you add the pics of the things you are posting about.....mmmm
Mini scrapbook wedding gift.
Hello everyone from a very bleak, damp september day in the UK. I am doing a quick post today of a wedding minibook I was asked to make as a wedding gift. It captures the bride and groom as babies, children, teenagers then of course as a happy couple and is a brief journey of their lives growing up together, getting together and now getting married. They got married in Cyprus last thursday and are currently on honeymoon. They are having a wedding celebration next month on their return from Cyprus and will be presented with this gift by their close friends who ordered it. The brief was keep everything black and white, no colour, which I found very difficult indeed. As you can imagine, love hearts are red ......well usually..... and to capture truest pictures they are in colour or else you dont know which baby is the girl mmmmmm. So i strayed a little, I made the book and embellishments monochrome but kept the inside of the photo pockets colour to add dimension.
Then I made a quickie card again according to the very strict black and white brief and well it turned out ok although nothing a bit of colour wouldnt have enhanced ...or am i being too picky?
I made a photo collage of the bride and groom and printed it on centura pearl card stock in black and white. Overall it is what they asked for and they are happy, I guess I just see where improvements could be made but then it wasnt for me so why argue!
Saturday, 28 August 2010
THE WEDDING- thank you cards x 165 oh my goodness
Hello there everyone, just a quick post to show you the thank you cards that I made over the last few days for Gill's wedding guests. I used a photo from the big day provided by her mum whilst she was on honeymoon. I used photoshop and Smartdraw to soften the edges, add a white and a silver border and virtually chomp two opposite corners like the original invitations.
I added a little silver stamped 'thank you' by Mary Hughes stamps and inside a 'love and hugs' from Design Objectives Ltd.
Voila and here is the finished article. The bride was very pleased.
THE WEDDING - thank you cards x 165 oh my goodness!
Hello one and all, just a quick post today to upload the wedding thank you cards from Gill's wedding last month.
The mother of the bride provided me with a photograph whilst the newlyweds were away in the Far East on honeymoon. So I softened the edges of the photo and virtually chomped two corners on opposite sides and created borders using Smartdraw and Photoshop. I think they worked well. Then I cut them on A5 so it created an A6 card which is plenty big enough for thank you's. The tiny thank you stamp on the bottom right hand corner is a Mary Hughes handwriting design stamp and the Love and Hugs inside is a Design Objectives Ltd. Neither were expensive stamps, the thank you was in a bargain bucket and the love and hugs was 4.99 and I picked it up at Hobbys and Handicrafts at SECC last year, thinking it was ideal for valentine cards.
I used my favourite gadget this wee, my cricut expression to cut the envelope from single sided silver pearlescent paper and used proper envelope gum which isnt like me cos I favour fingerlift tape.
Anyway here are the pictures and I am now off to play with my new cricut cartridge 'wild card'.
watch this space for my little 40th card coming up and a little playing with clear stamps from elzybells.
Have a great weekend everyone.
Subscribe to:
Posts (Atom)